Last weekend, I had the pleasure of collaborating with @Mikado, @craapy-dev, and @bruce-ashbey to create our Ludum Dare 53 game, “Package Panic”.

It was my first game jam in years, and I’m very pleased with how it turned out. As the Technical Artist on the team, my responsibilities included creating and refining AI art for the game.
In this post, I’ll be sharing how I used AI-generated art in our game by combining Stable Diffusion with manual image editing. I’ll also be sharing the mistakes I made along the way, in the hopes that others might learn from them.
Making the Trucks
First, I started with this truck sprite by gameguy from “opengameart.org”:
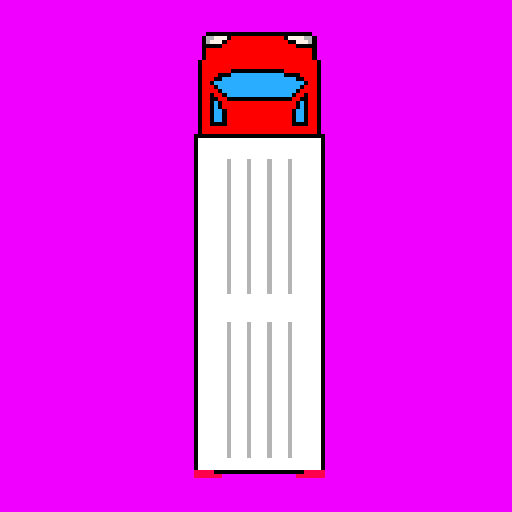
Then I used Stable Diffusion’s inpainting model and did these steps:
- Inpaint the trailer part of the truck, and experiment with different settings/prompts.
- Inpaint the cab part of the truck, and experiment with different settings/prompts.
- Now that the AI has more context for how I want the final image to look, repeat steps 1 and 2 until it looks perfect.
Here is a timelapse of this process in action:
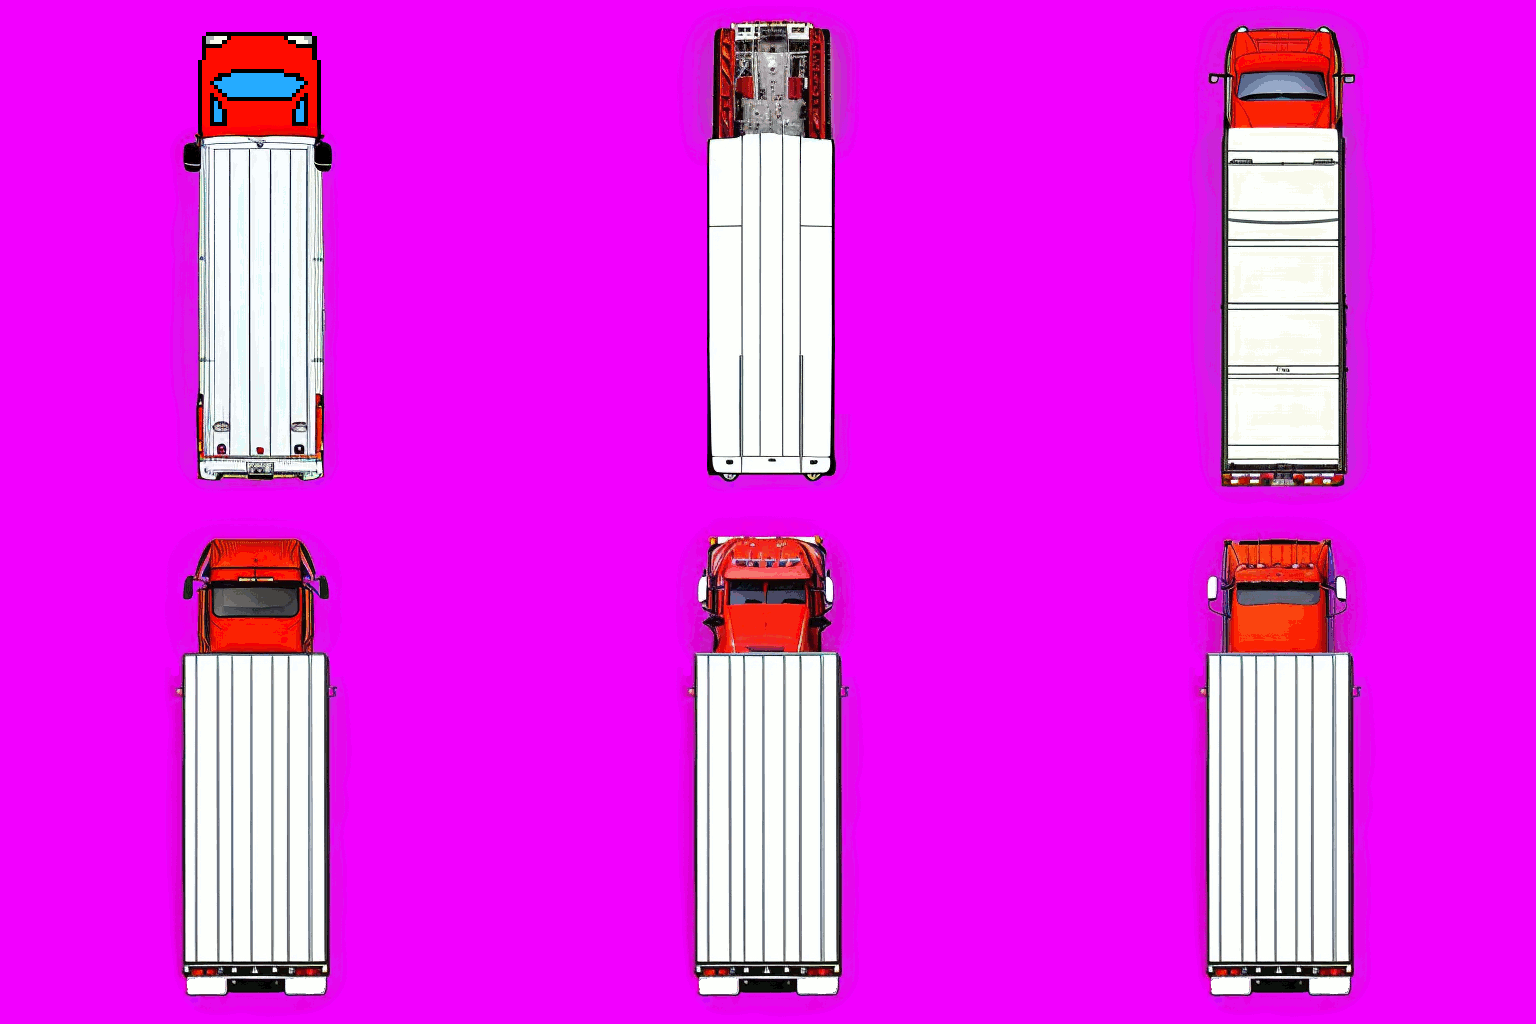
And here is the image I ended up picking to use in the game:
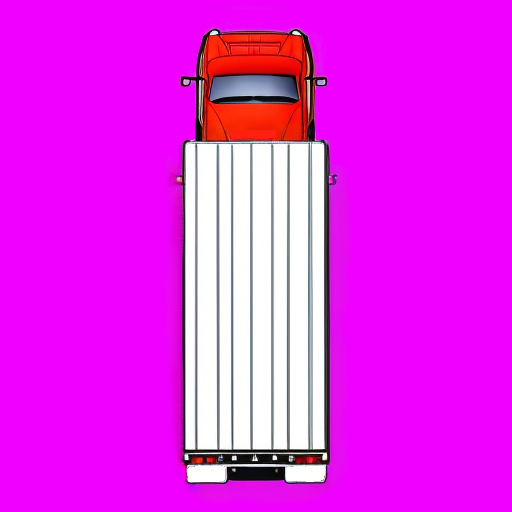
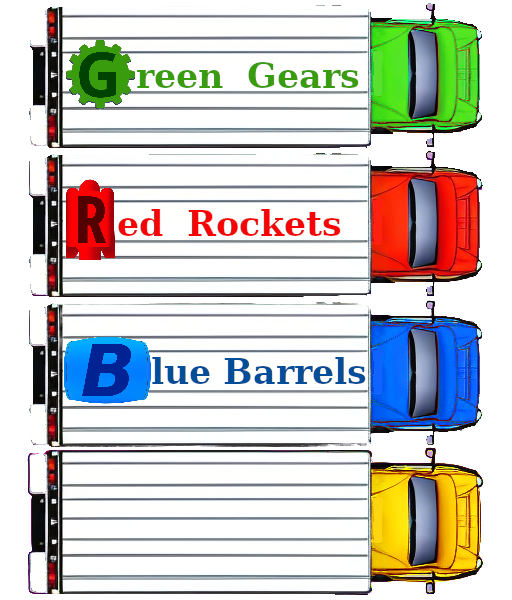
Now that I had this sprite, I was able to manually recolor the trucks and add the different company logos for each (see “Making the Packages” section for more details on the company logos):
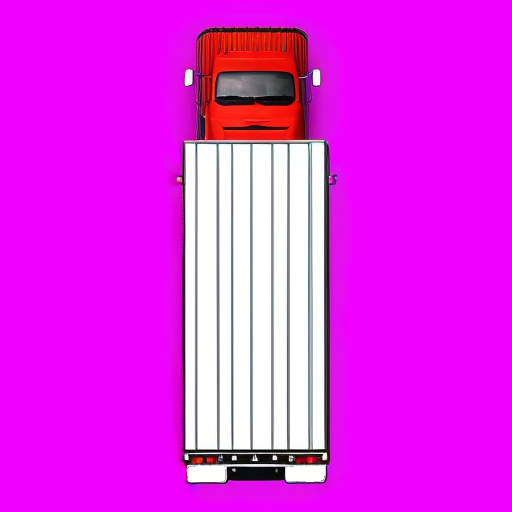
If I had more time to wrestle the AI and fix the flaws in the images, I probably would have gone with a more realistic style like this (although there are several flaws with the cab part):
Making the Conveyors
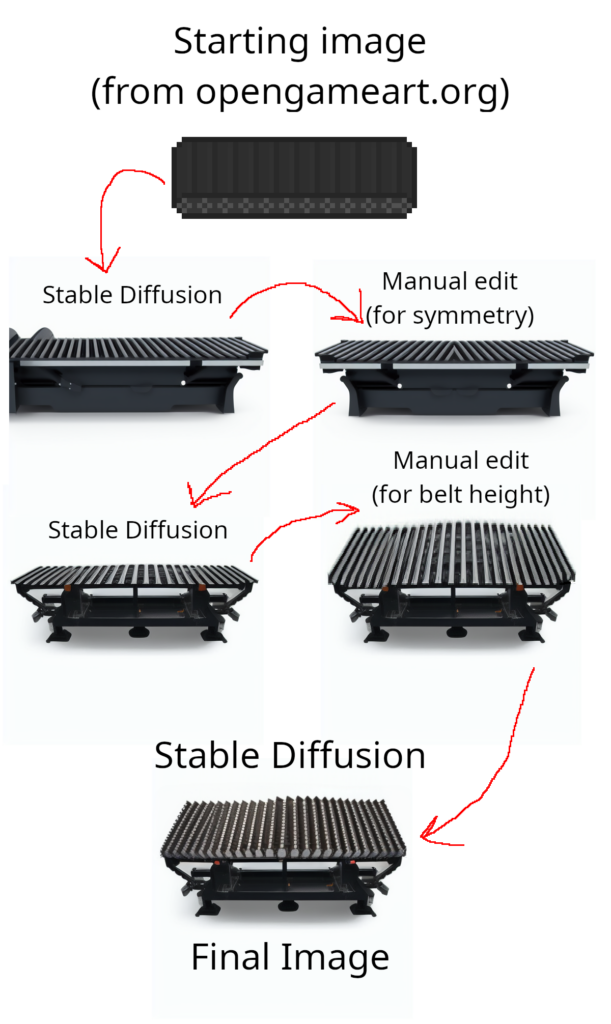
First, I started with this conveyor sprite by rubberduck from “opengameart.org”:
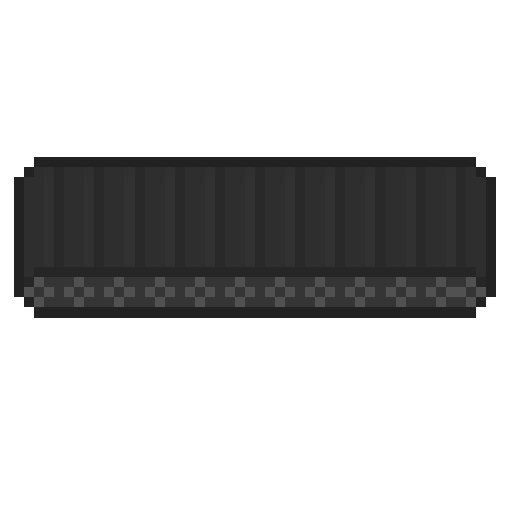
Next, I went back-and-forth between GIMP and Stable Diffusion. I used GIMP for the manual edits, then used Stable Diffusion’s image-to-image and inpainting models for the AI generations and modifications:
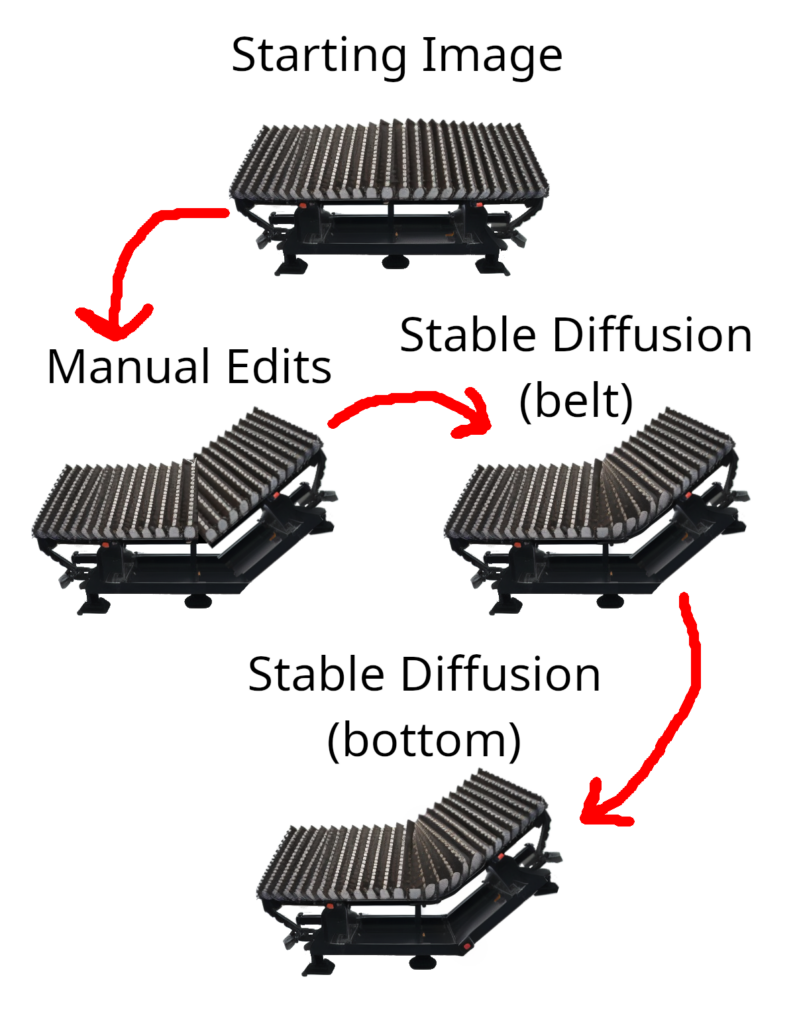
I used the same back-and-forth process for making a version of the conveyors that curve upwards, although it required a lot more manual editing time (and unfortunately wasn’t used in the final game):
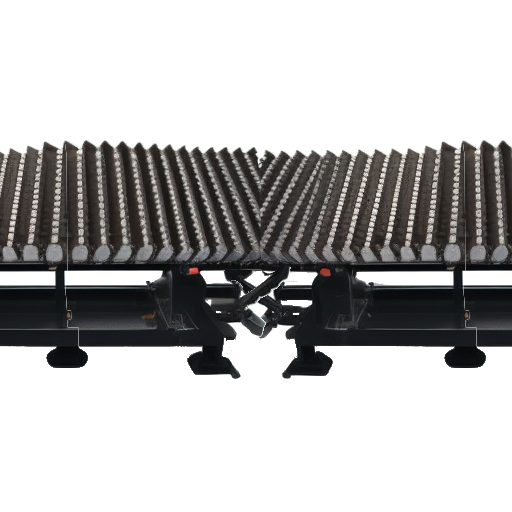
These new conveyor belt images looked very pretty, but the conveyor belts didn’t connect nicely when placed next to each other:
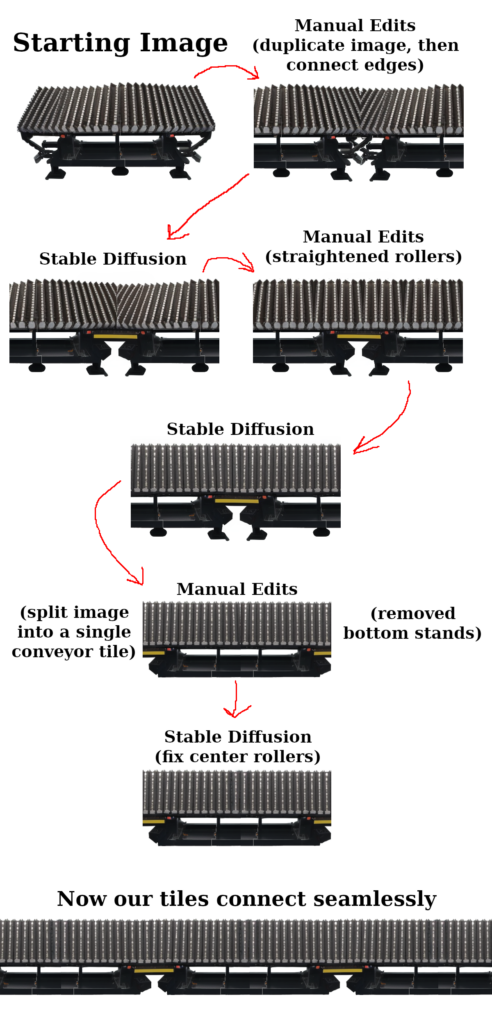
So making them connect seamlessly was my next task:
Then I made one of the simplest yet most consequential edits of the entire project. I duplicated and flipped the new conveyor sprite vertically to give it a top-down perspective:
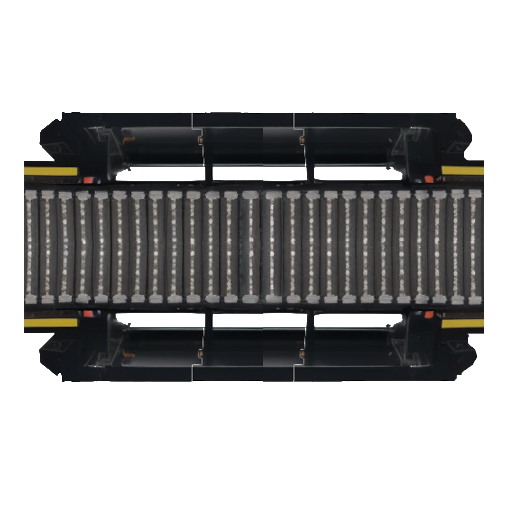
The sides didn’t look very convincing. My first attempts to make them look better with inpainting had some interesting improvements:
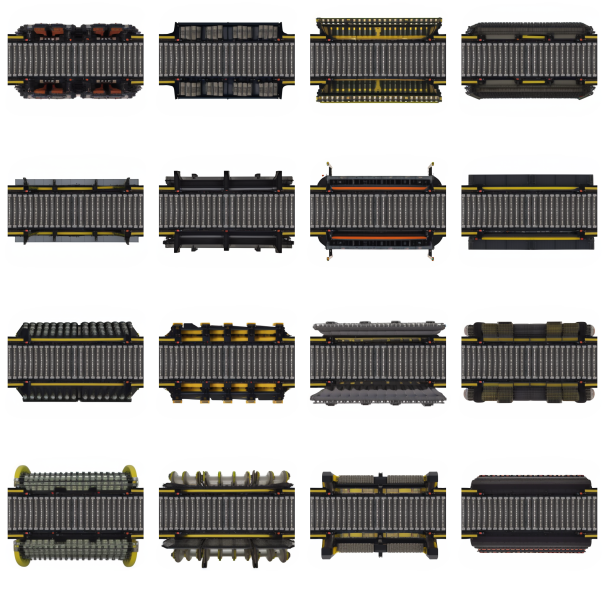
But after tweaking the prompts several times and experimenting with the results, I ended up getting some really great machinery backgrounds for the conveyor belts:
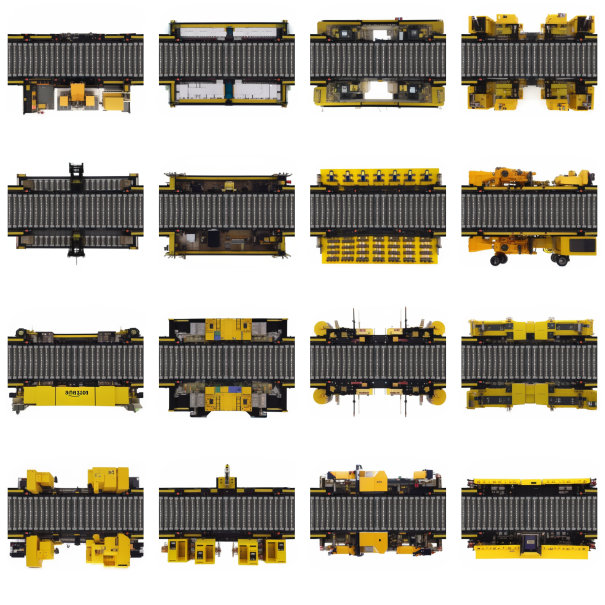
Once I found the prompt that I loved the most, I got a bit carried away with generations:
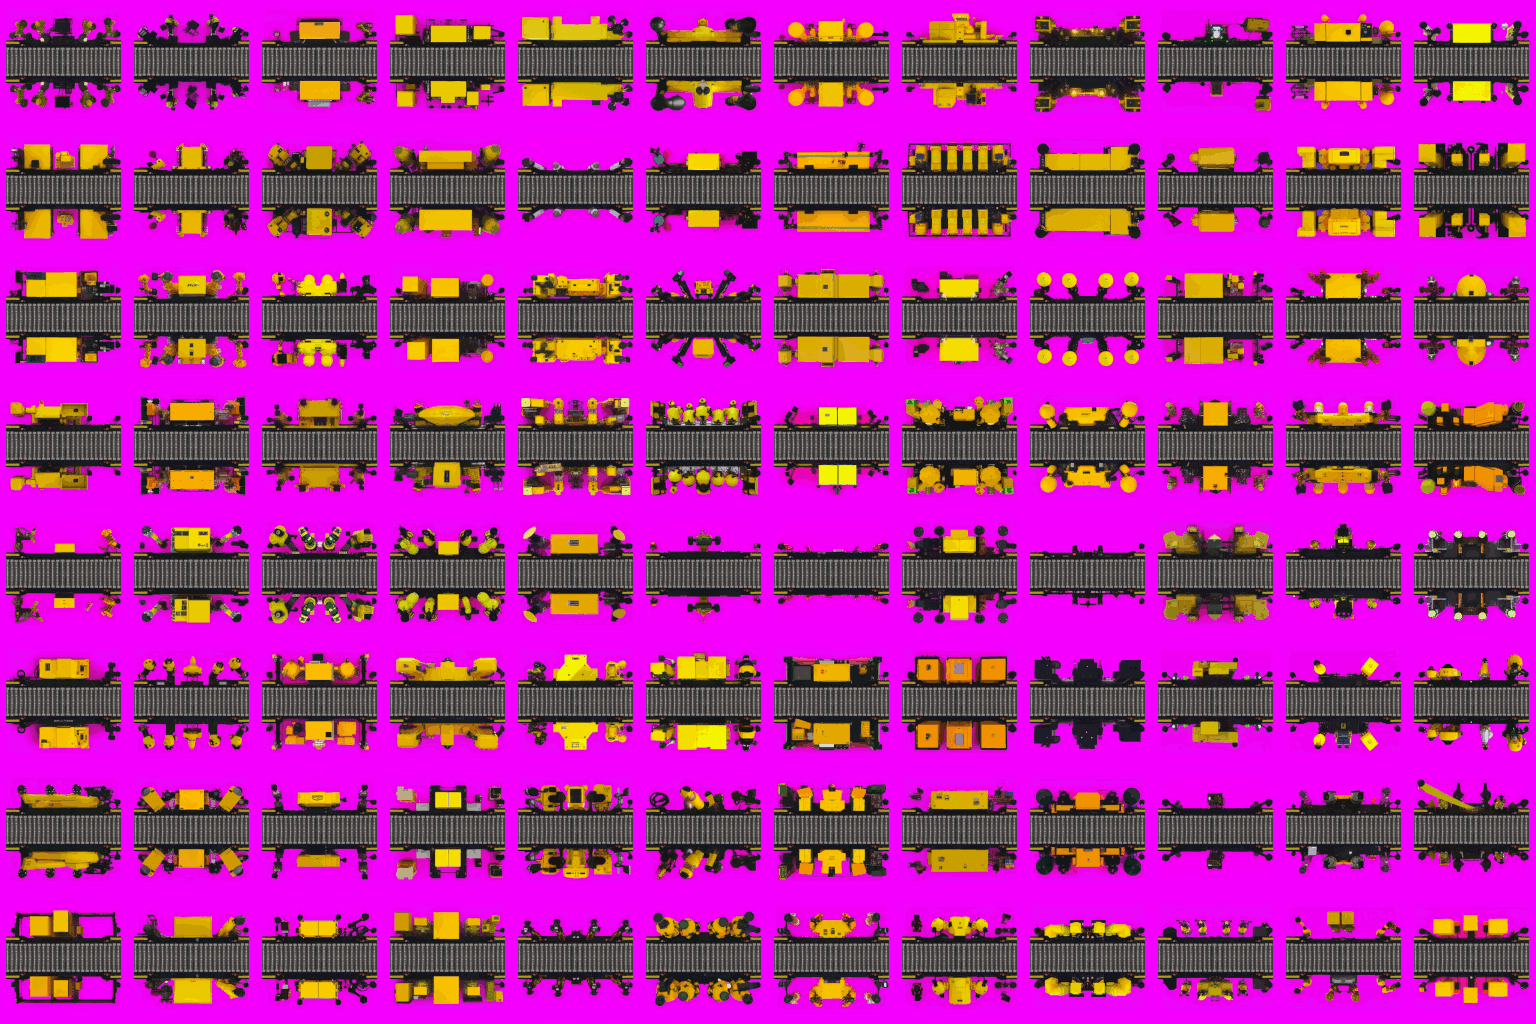
In hindsight, it might have been better to use wildcards in the prompt so the results would be even more varied.
We ended up cherry-picking a few handfuls from the above images to polish and then use in the game.
Honorable Mention
One small casualty of Ludum Dare’s time restrictions is that we weren’t able to use my conveyor animation (which I created manually with GIMP) in the final game, but it looked really neat:

Making the Packages
I had to make three package sprites: one for the Green Gears company, one for the Red Rockets company, and one for the Blue Barrels company.
The Green Gears company was the easiest. I simply used text-to-image until I got a green gear icon that looked appropriate:
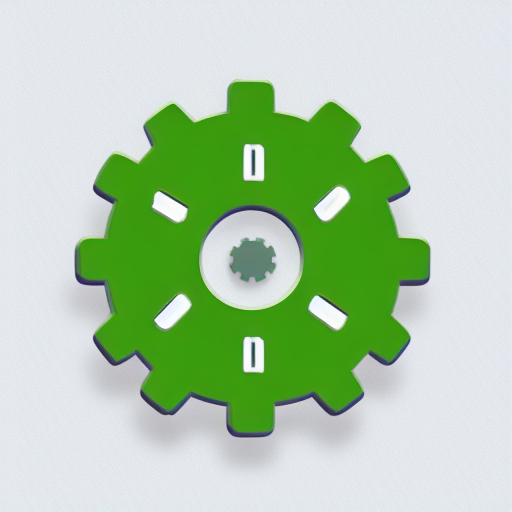
Then I made some easy edits in GIMP and it was finished:

The Red Rockets company was a bit more interesting. I wasn’t getting the results I wanted from text-to-image, so I drew this and used it with image-to-image:

Eventually I got one that I liked:
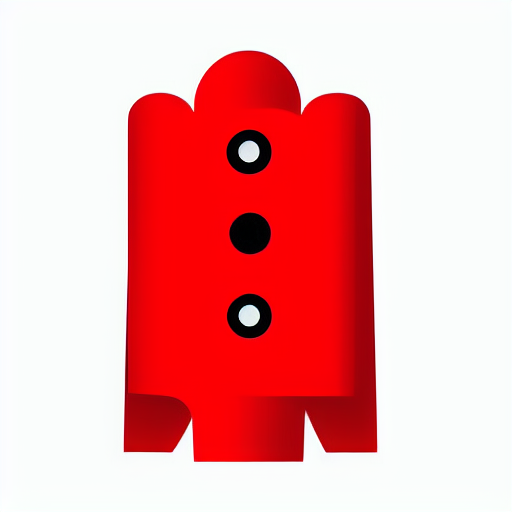
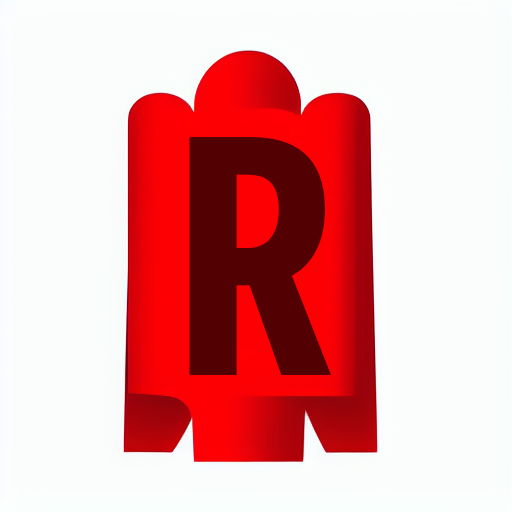
And then I polished it manually:
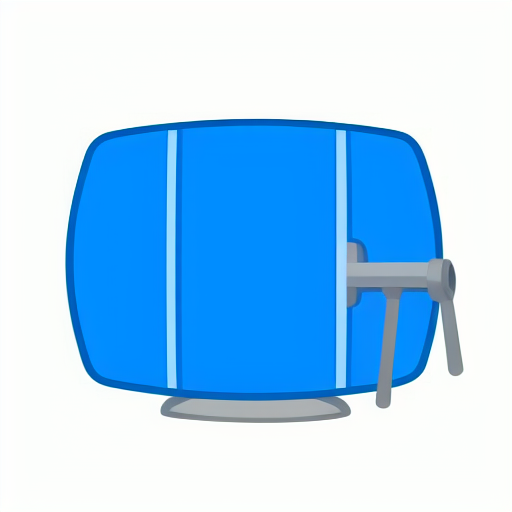
Finally, the Blue Barrels company was the most difficult, probably because I decided that the barrel should be horizontal so that it looked less like the rocket icon. I drew this and sent it to image-to-image:
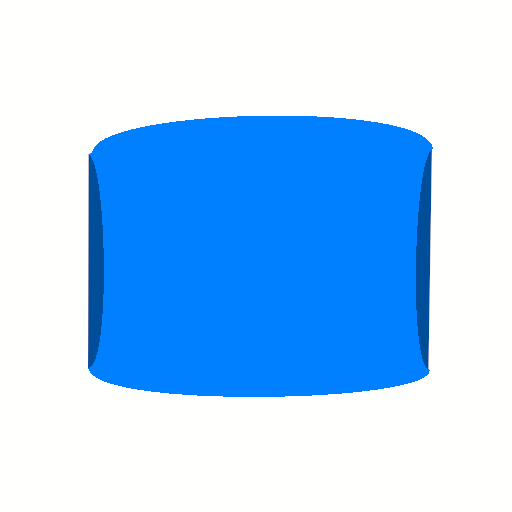
Stable Diffusion probably doesn’t have many horizontal barrels in its dataset, so I wasn’t really getting anything I wanted. In hindsight, I probably should have just tried to make an upright barrel and then rotated it myself manually. But that’s not what I did. Eventually I got this from image-to-image:
I removed the clutter in GIMP, and then I was left with just a simple blue shape that looked almost identical to my original one:
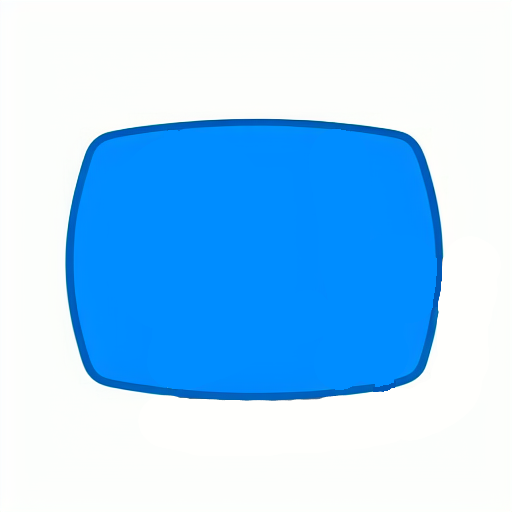
I ended up using this “new” shape for image-to-image, and after trying several different prompts I finally got exactly what I had been searching for:
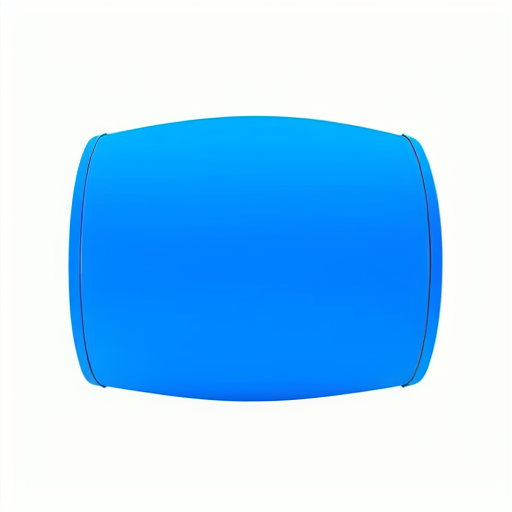
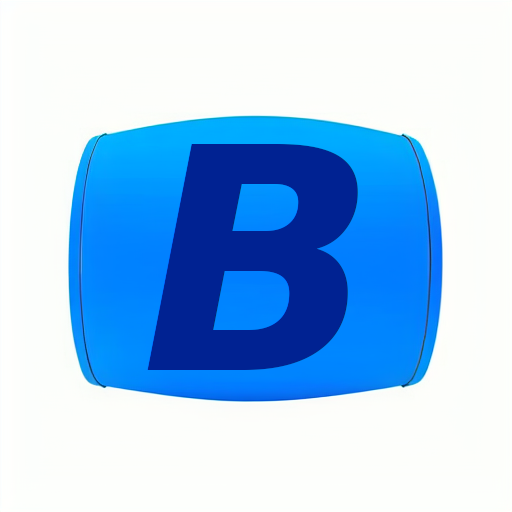
All I had to do now was slap a big italic “B” on it:
Making the Concrete Tiles
Last and least are the game’s concrete background tiles. Not my finest work, but that’s usually what happens when you rush something in a game jam.
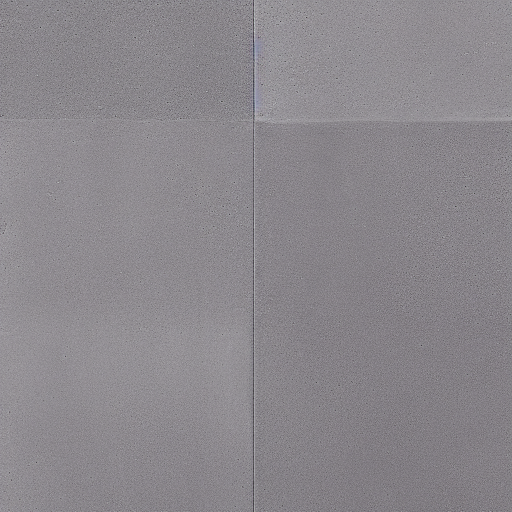
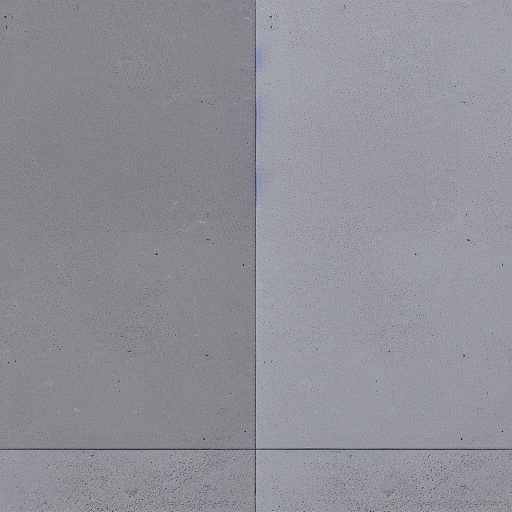
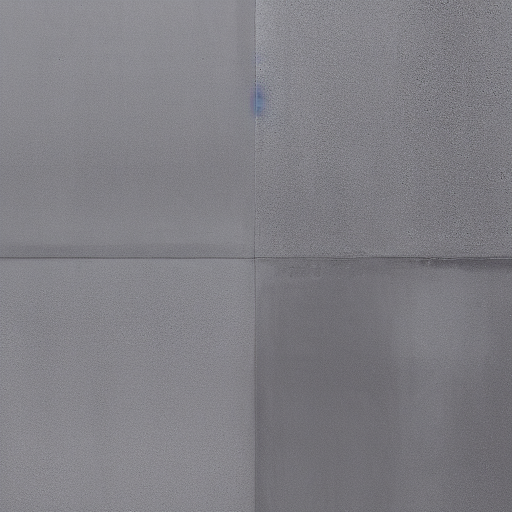
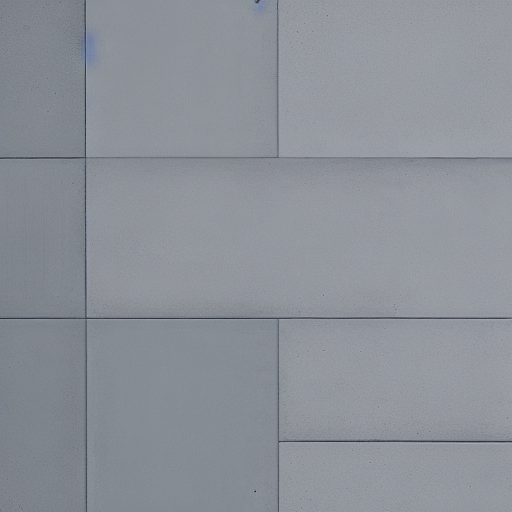
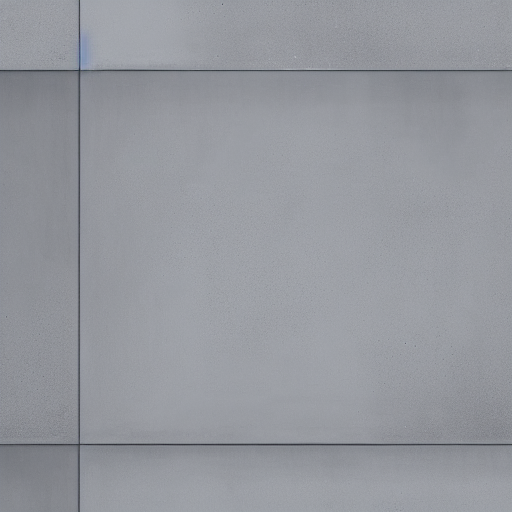
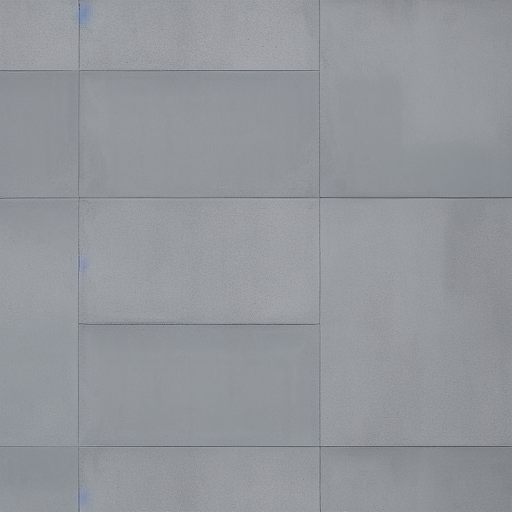
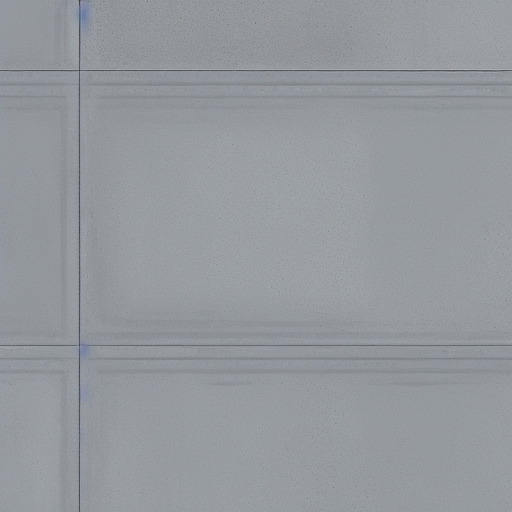
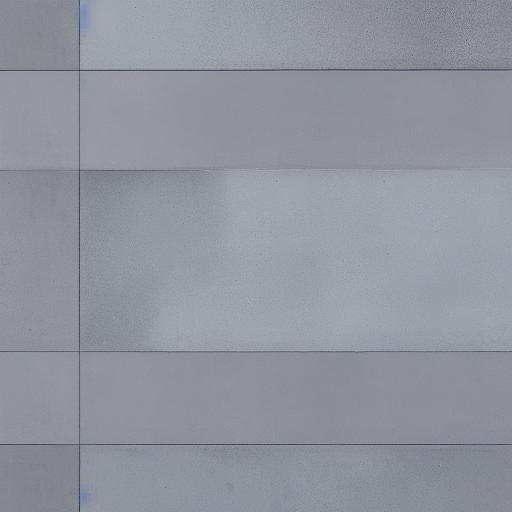
Here is the process I used to make the tiles:
- Use text-to-image to create textures.
- Cherry-pick the best results.
- Use the best results in image-to-image with a low denoise value (lower denoise value = fewer changes to original image).
This process works fine, it’s just that a tiled background probably wasn’t the best choice for a warehouse floor.
Another small mistake I made is not using a custom VAE with Stable Diffusion to fix the small blue smudges on the textures, but that’s nitpicking and beyond the scope of this post.
