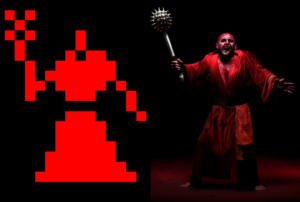
This is the first in a series (hopefully) of blog posts where I share fan art I created for “Infra Arcana”, as well as step-by-step explanations of how I made the art using Stable Diffusion and manual editing.
Infra Arcana is an open-source Lovecraftian horror game created in 2011 by Martin Törnqvist (who actively develops it to this day), and it’s the greatest roguelike ever made. It uses minimalist graphics and evocative descriptions to create an atmosphere of paranoia and terror.
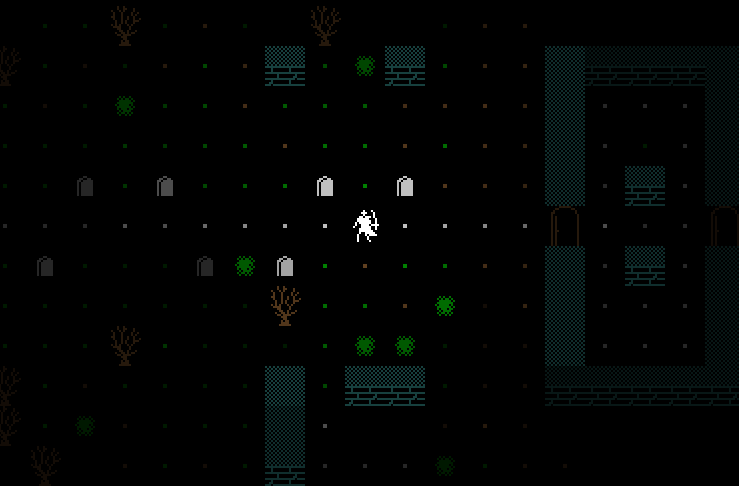
Although I could happily ramble about its amazing gameplay and sound design, the “minimalist graphics and evocative descriptions” part is what makes this game perfect inspiration for AI art.
I’ll start off this series by showing how I made this fan art of the Blinded Zealot:


Beckoned by The Thousand-Faced Moon into laying its mind bare for the occult, the psyche of this hierophant was ravaged by scores of entities from fiendish realities. They had it gouge out its eyes and tongue, and left it a husk of former humanity. Now it lumbers about aimlessly, brandishing a spiked mace with which it flays itself in mockery of physical anguish.
Infra Arcana
First, I started out by using this in-game sprite of the Zealot with Stable Diffusion image-to-image:
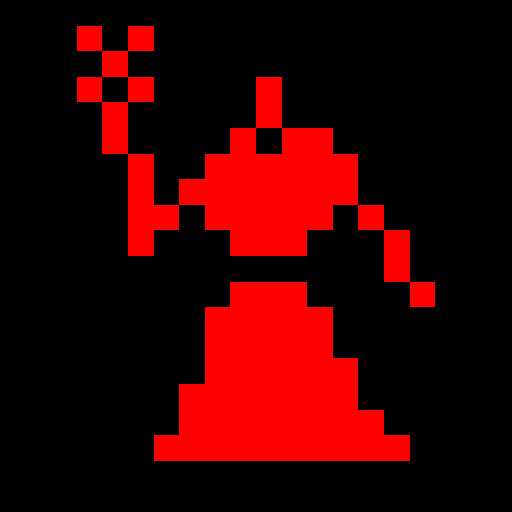
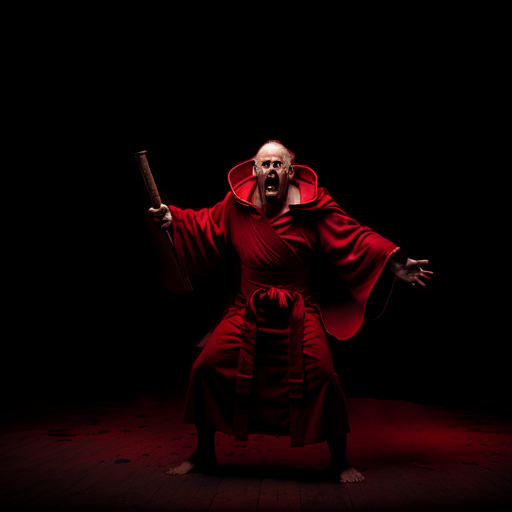
Some in-game descriptions of enemies are concise enough to simply paste into the positive prompt, but that was not the case with the Zealot. I had to experiment with several different prompts, settings, and wildcards before getting this guy:

NEGATIVE: (poor quality), masked, veil, cartoon, anime, blurry
I know, this guy arguably looks cooler than our final result. But he doesn’t look like our Zealot. So I made some manual edits to remove unwanted details:
The events depicted in this video will occur many more times throughout this post:
Next, we put our guy through inpainting (using the specialized inpainting model) to make his robes more simple:
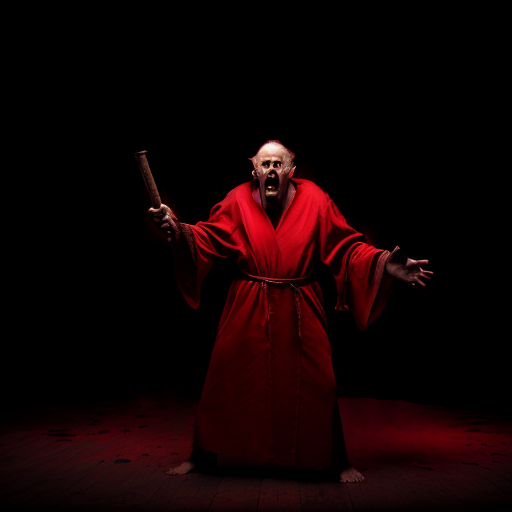
Then put the above result back through inpainting to add more details:
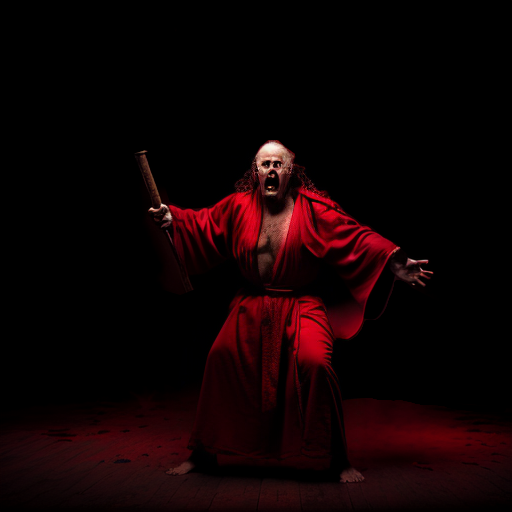
We use some more manual editing to remove some unwanted details, then inpainting to make his shoulders look stronger and give him a (crude) mace:
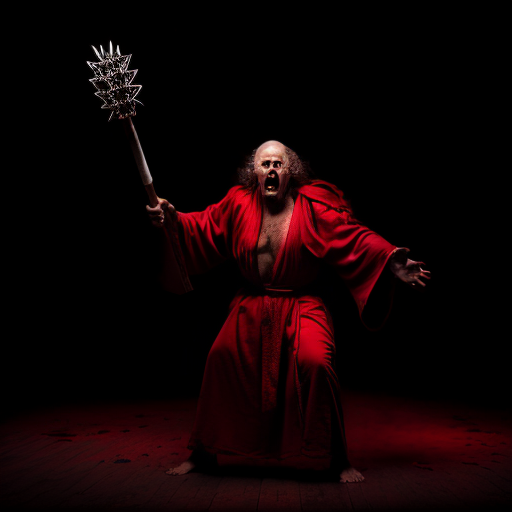
Then I reached one of the biggest challenges of the project: making a face of total agony with gouged-out eyes and no tongue. This was the best I got after several attempts at inpainting:
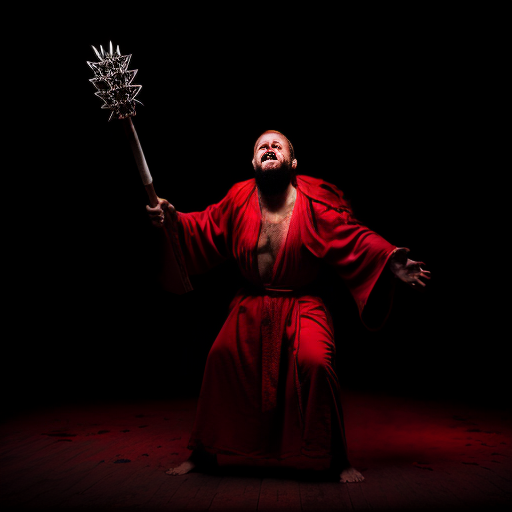
Even with “restore faces” enabled, everything I tried to make came out horribly disfigured (but not horribly disfigured in the way that I wanted). I’ll spare you the many failed attempts I made with inpainting and ControlNet, but ultimately I got decent results by inpainting with the depth-to-image model:
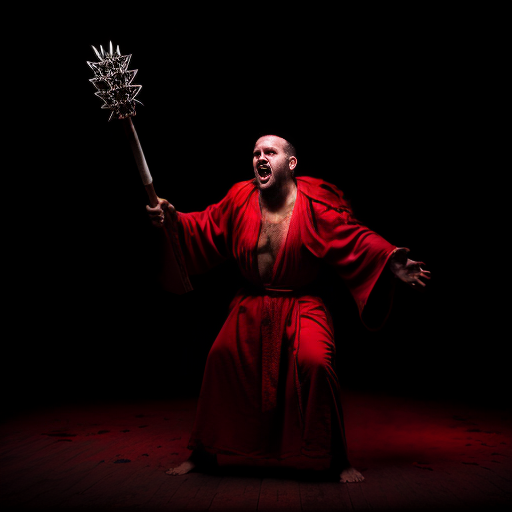
I put this half-decent result back into depth-to-image again, and I finally found my perfect expression of torment:
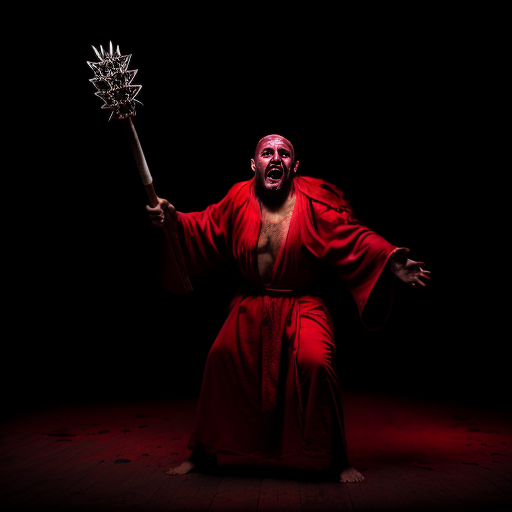
I just had to make some manual edits to black out his eyes and tongue (and edit the mace a bit):
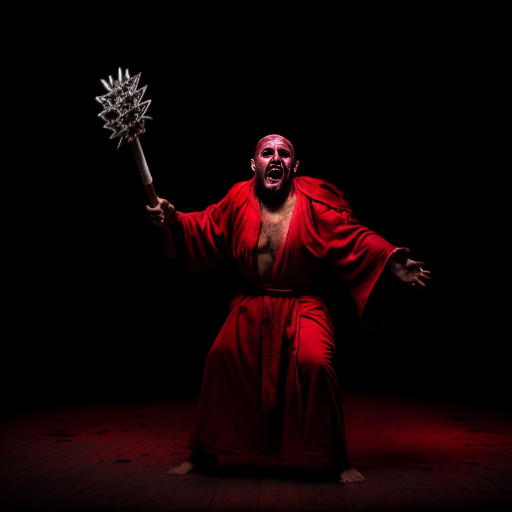
Next, I improved his mace and left hand with inpainting (I went back to using the inpainting-specialized model now):
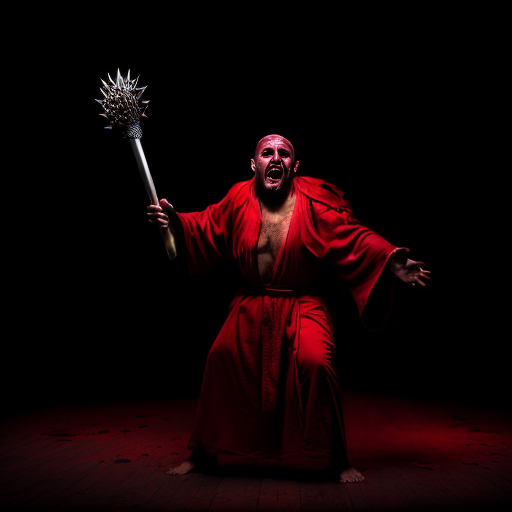
Then I inpainted his robed dad-bod into a muscular bloody mess with stitched-together rags:
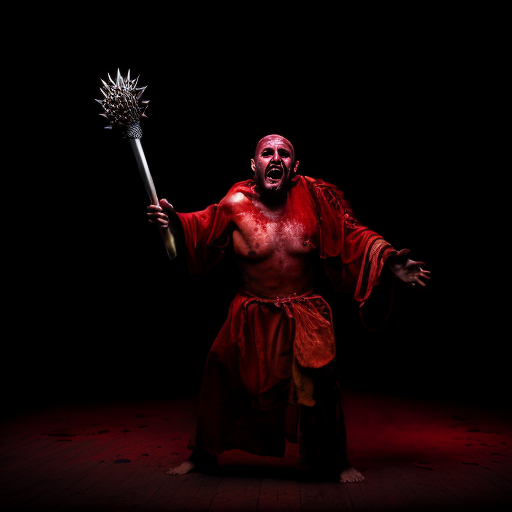
While that would look awesome as a character from “300”, unfortunately our Zealot needs to be a bit more clothed:
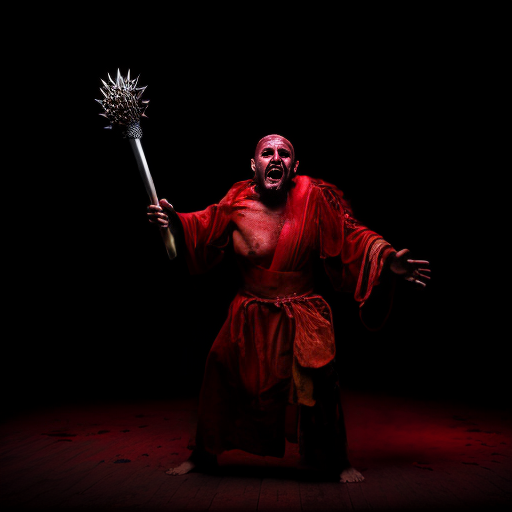
Maybe even a bit more, unfortunately:
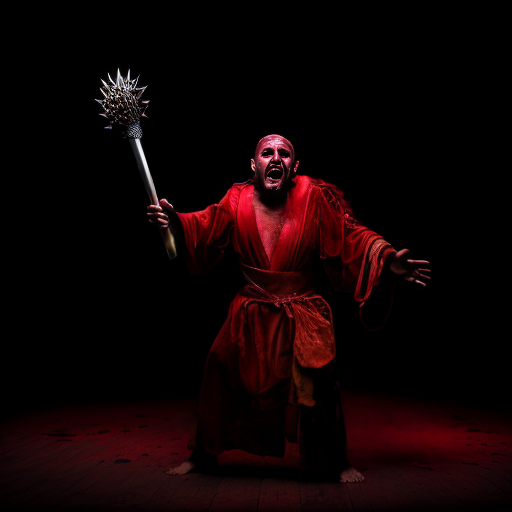
At this point, I felt satisfied with calling the Zealot finished and posting my results on Infra Arcana’s Discord. But I was haunted by two details for nearly a week:
- He is roughly a head too short compared to the original sprite.
- The spiked mace doesn’t look like a spiked mace.
I decided to address his height issue first. I simply stretched him wider, cut him into three pieces, moved them around, and filled in the gaps with solid red:
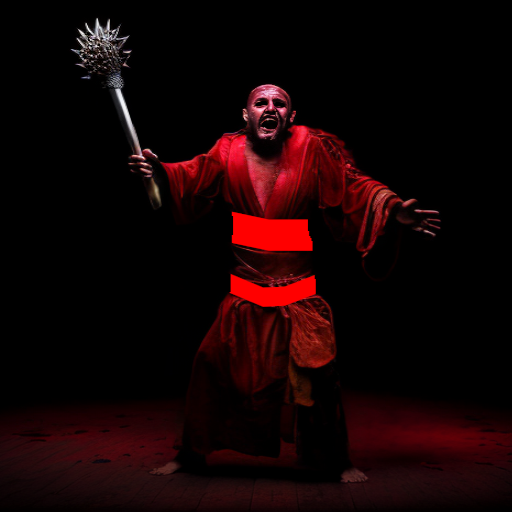
Then I inpainted:
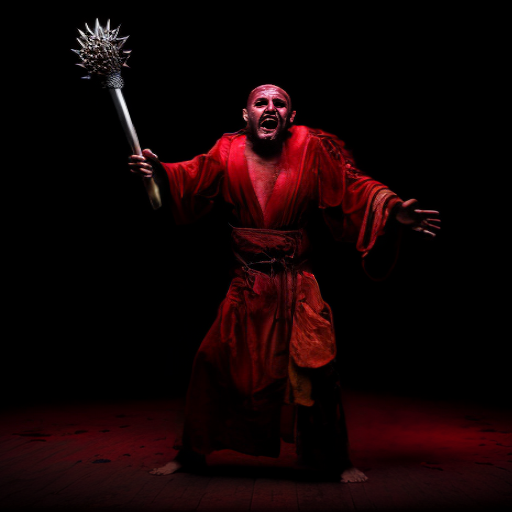
I repeated the same process to move his waistband again (this time I also darkened the belt, to resemble the original sprite more):
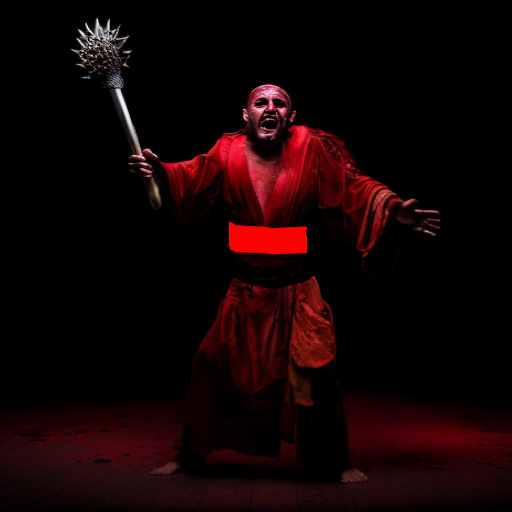
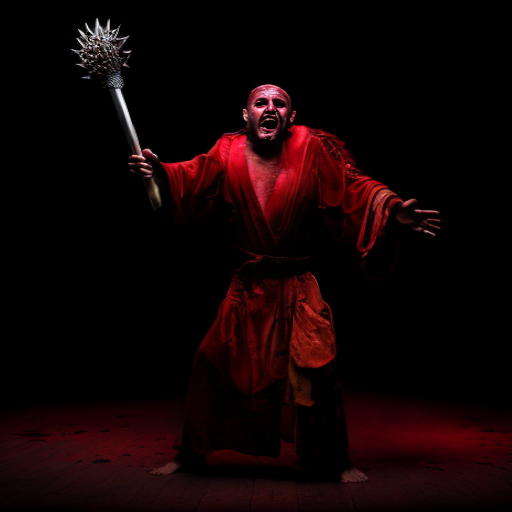
Then inpaint again:
As for improving the mace, I inpainted different parts of it using the depth-to-image model. I even made a cool timelapse for this step:
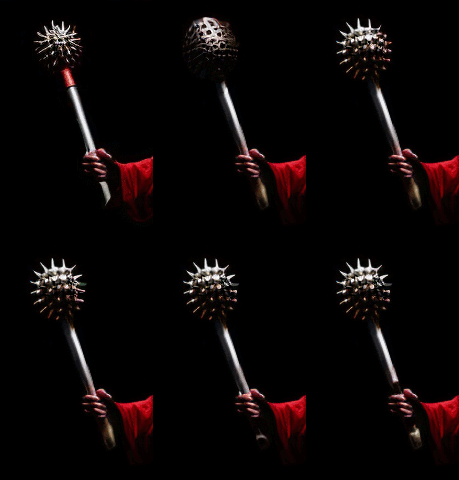
The final mace looked like this (I also made a few edits to our Zealot’s body):
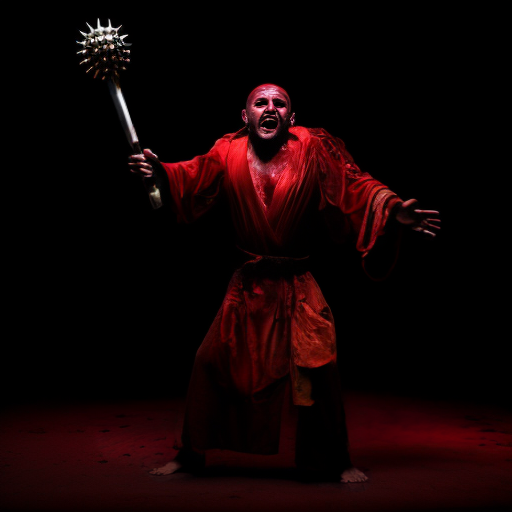
At this point I was once again ready to call it finished, but someone close to me pointed out that the waist was disproportionately small. (Unlike me, they are an “actual artist™”). So I simply scaled up the waist area:
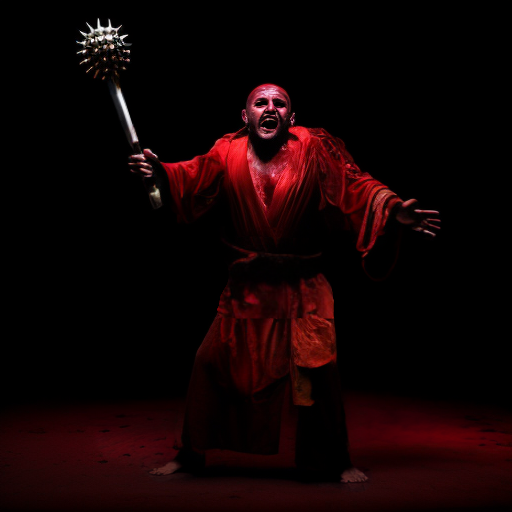
Then I inpainted for the final time:
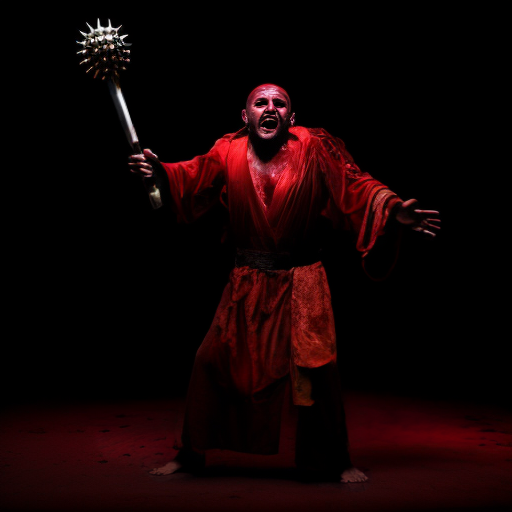
Is there more that can be done? Probably. But this quote comes to mind:
Art is never finished, only abandoned.
-Leonardo da Vinci
Eventually I may re-use or expand upon this Zealot in future fan art, but for now I’m happy with how he turned out.
